Installing Thermowood
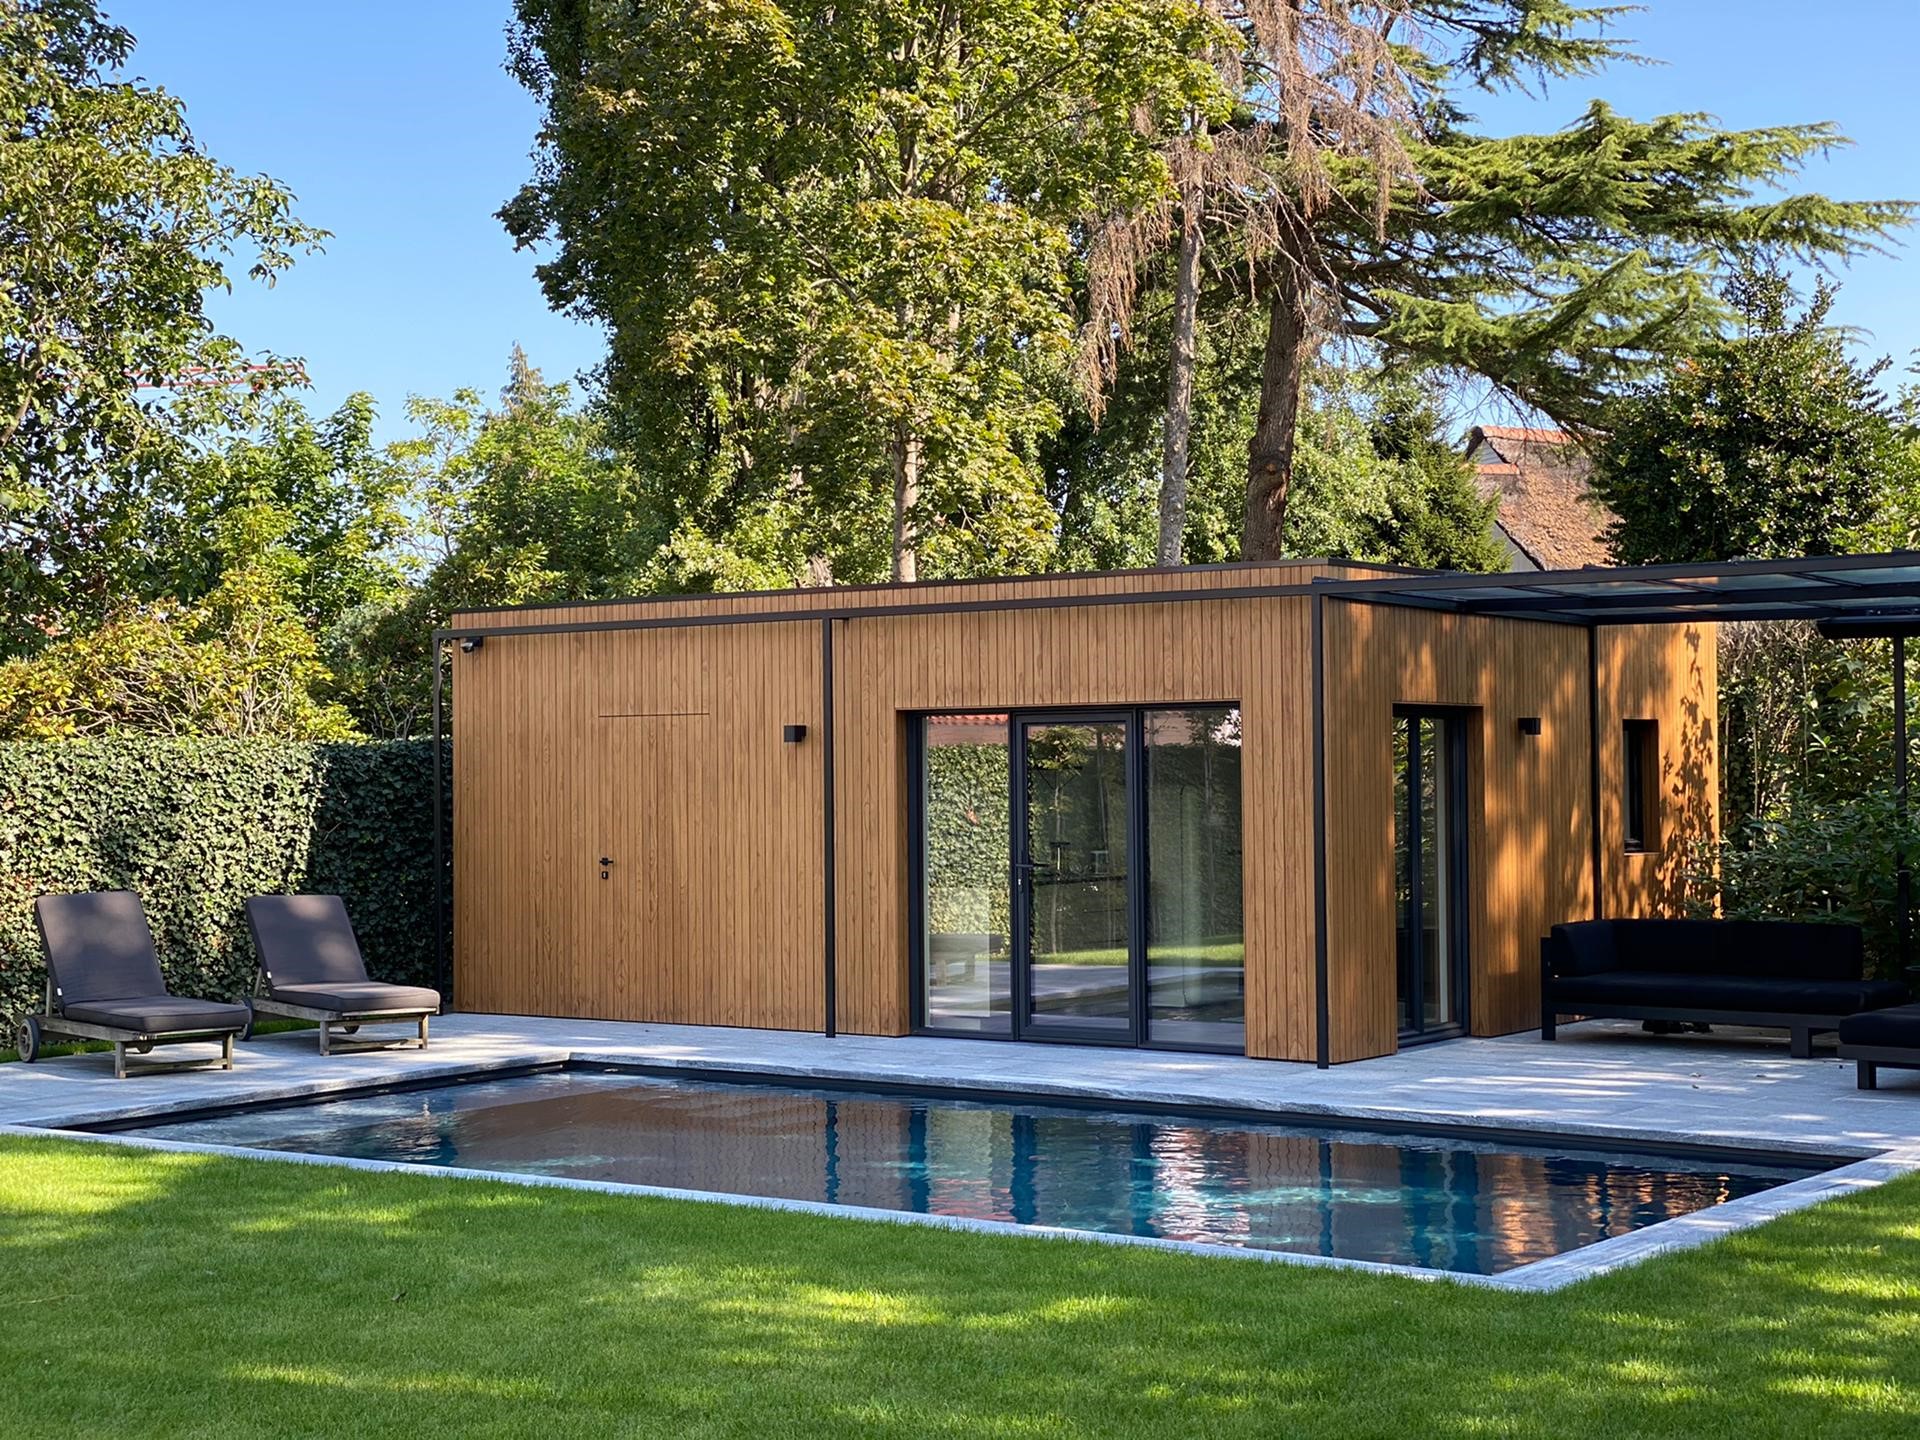
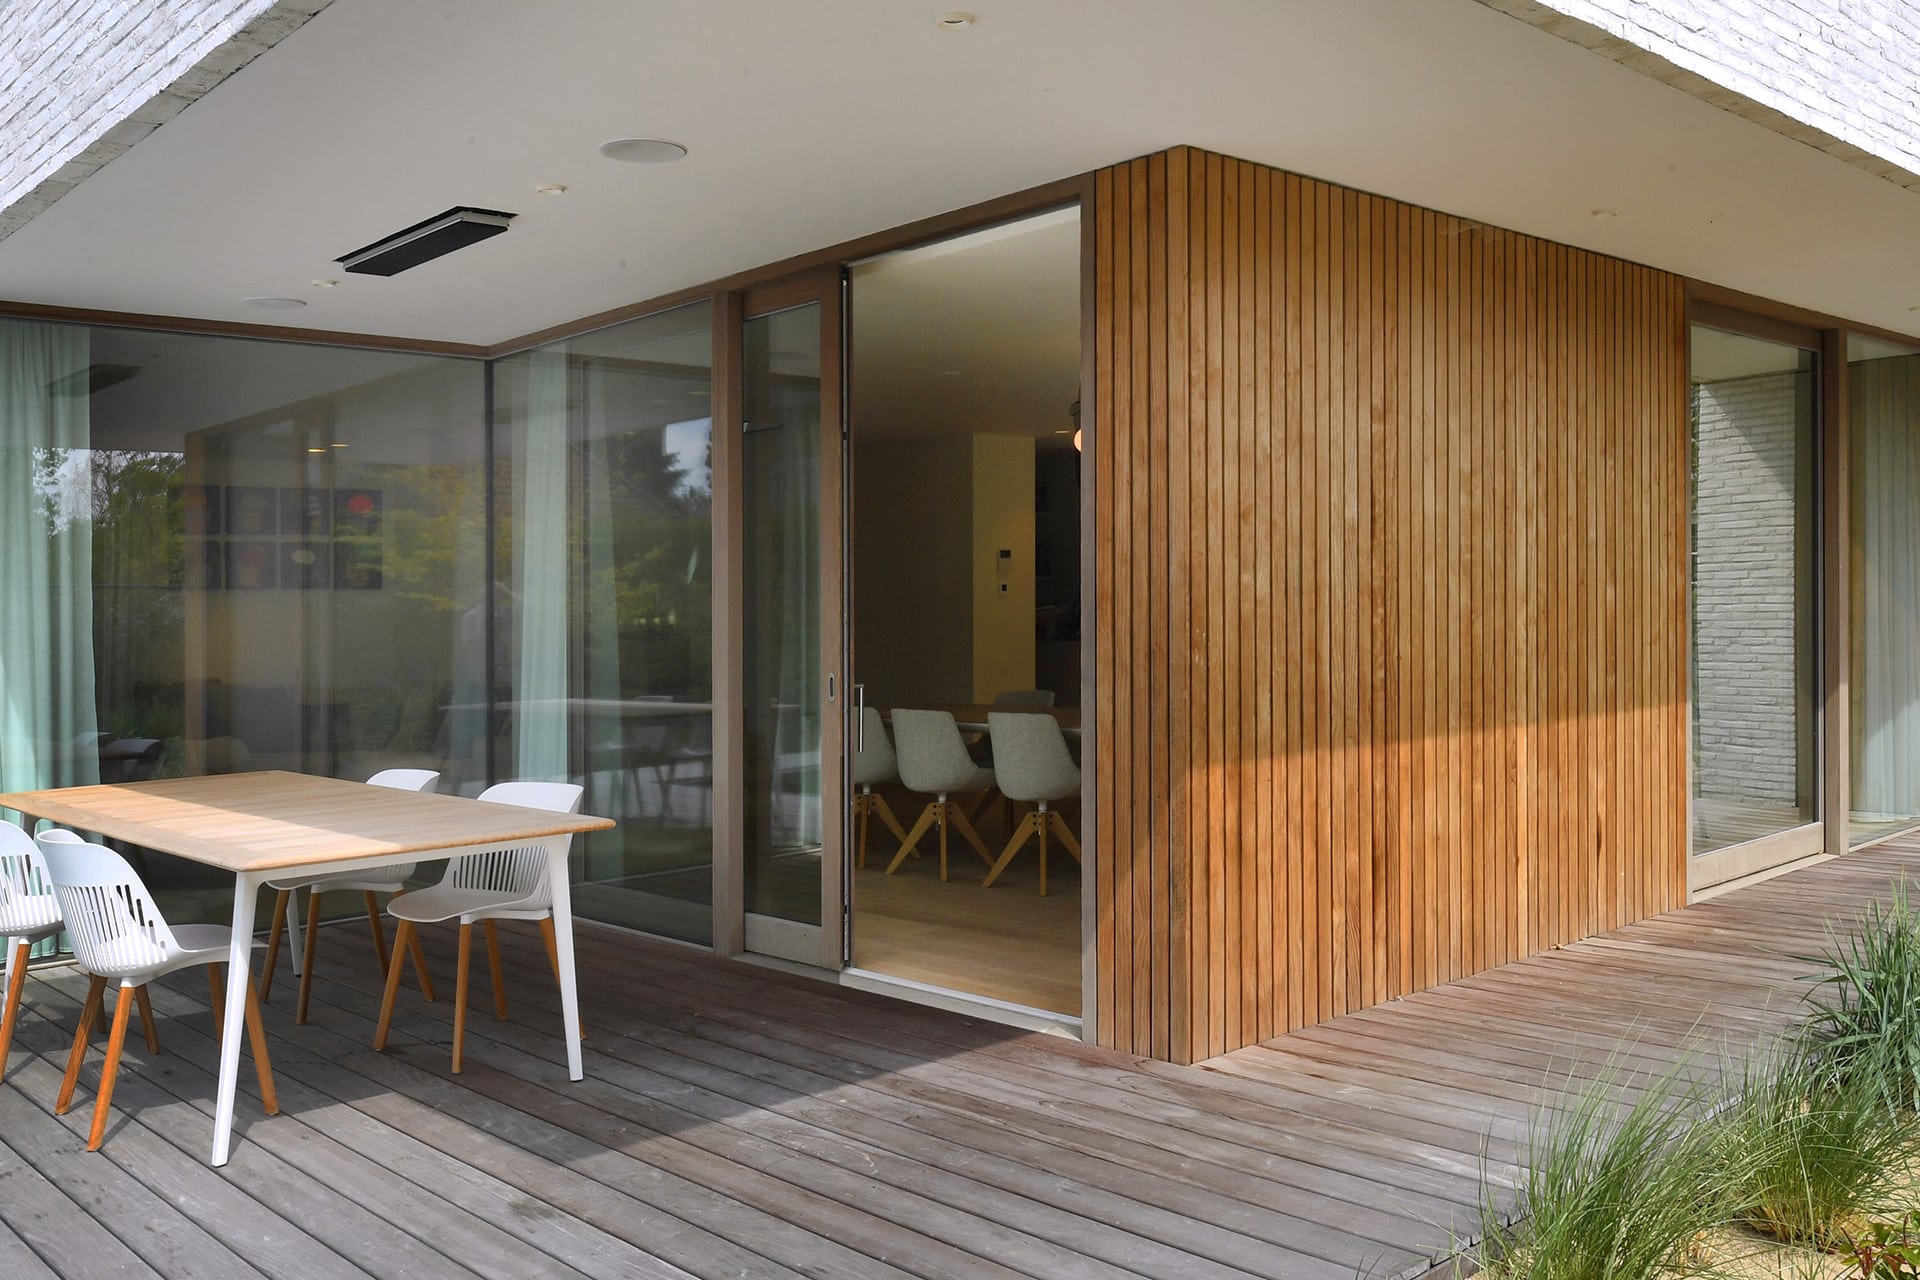
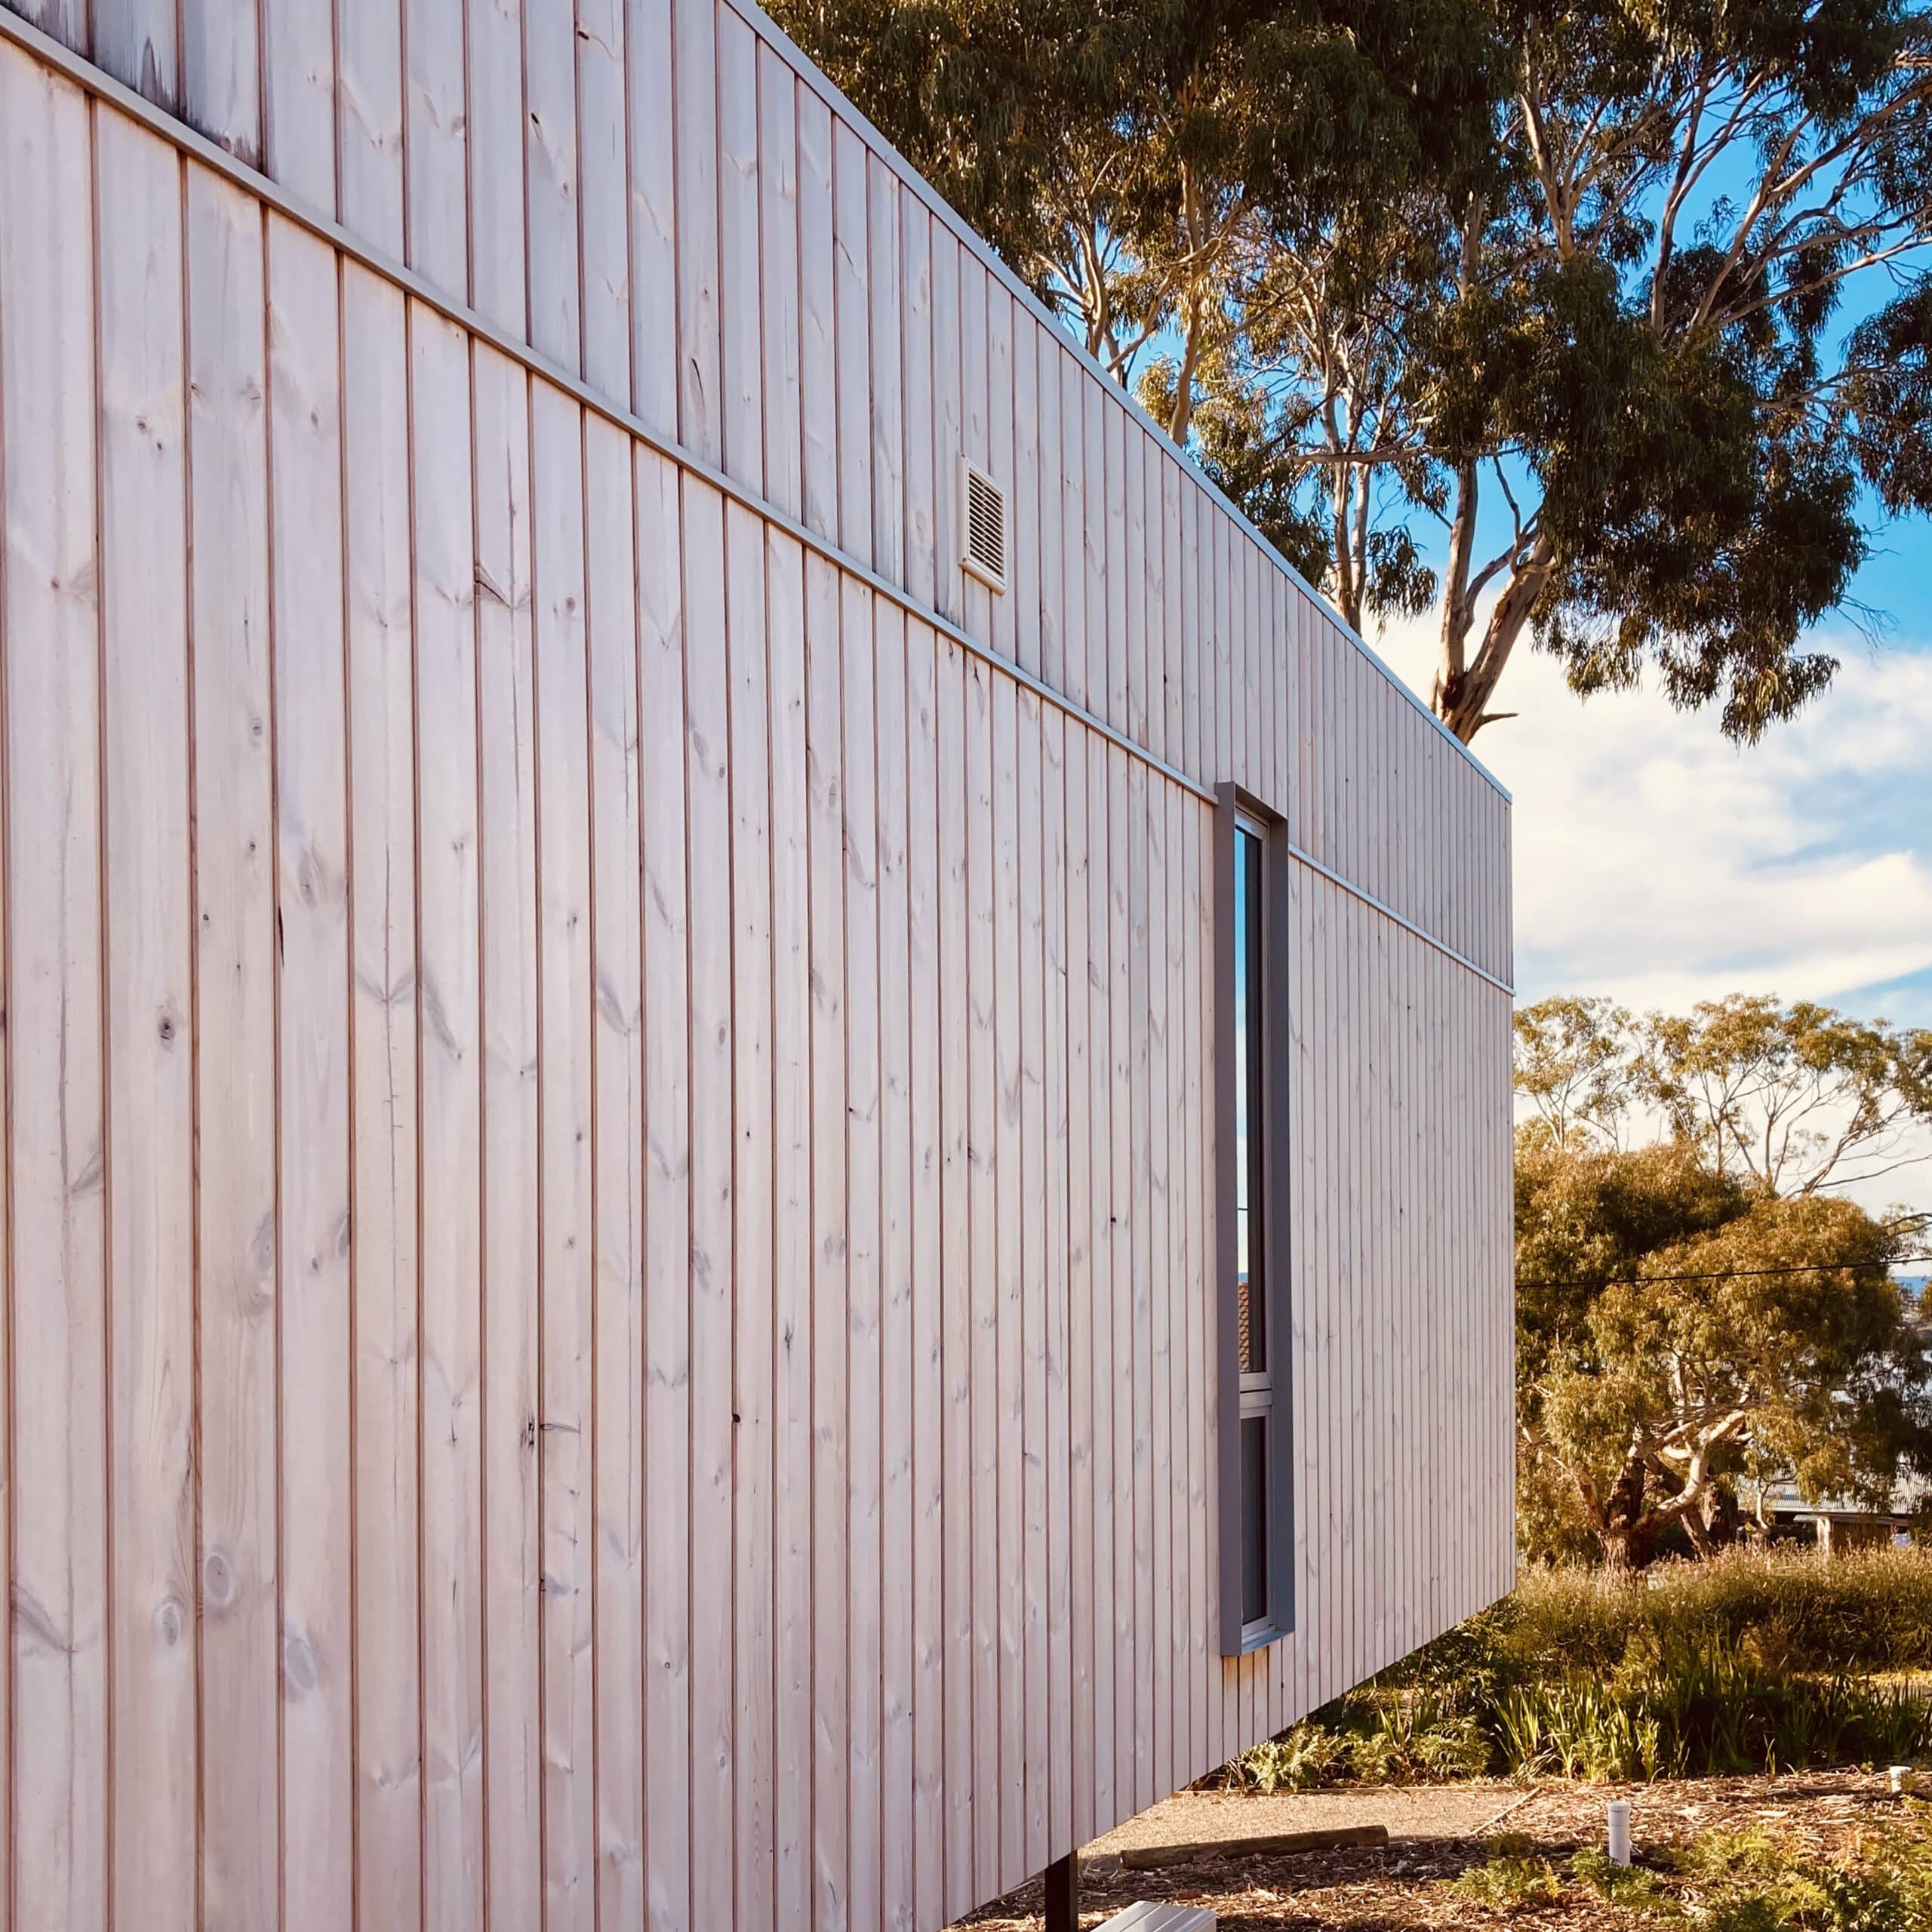
Thermowood® is an environmentally friendly alternative to tropical hardwood. You probably see it appearing more and more often against facades. There is a very good reason for this. After all, it not only provides aesthetic value to your home. It is also an environmentally responsible choice.
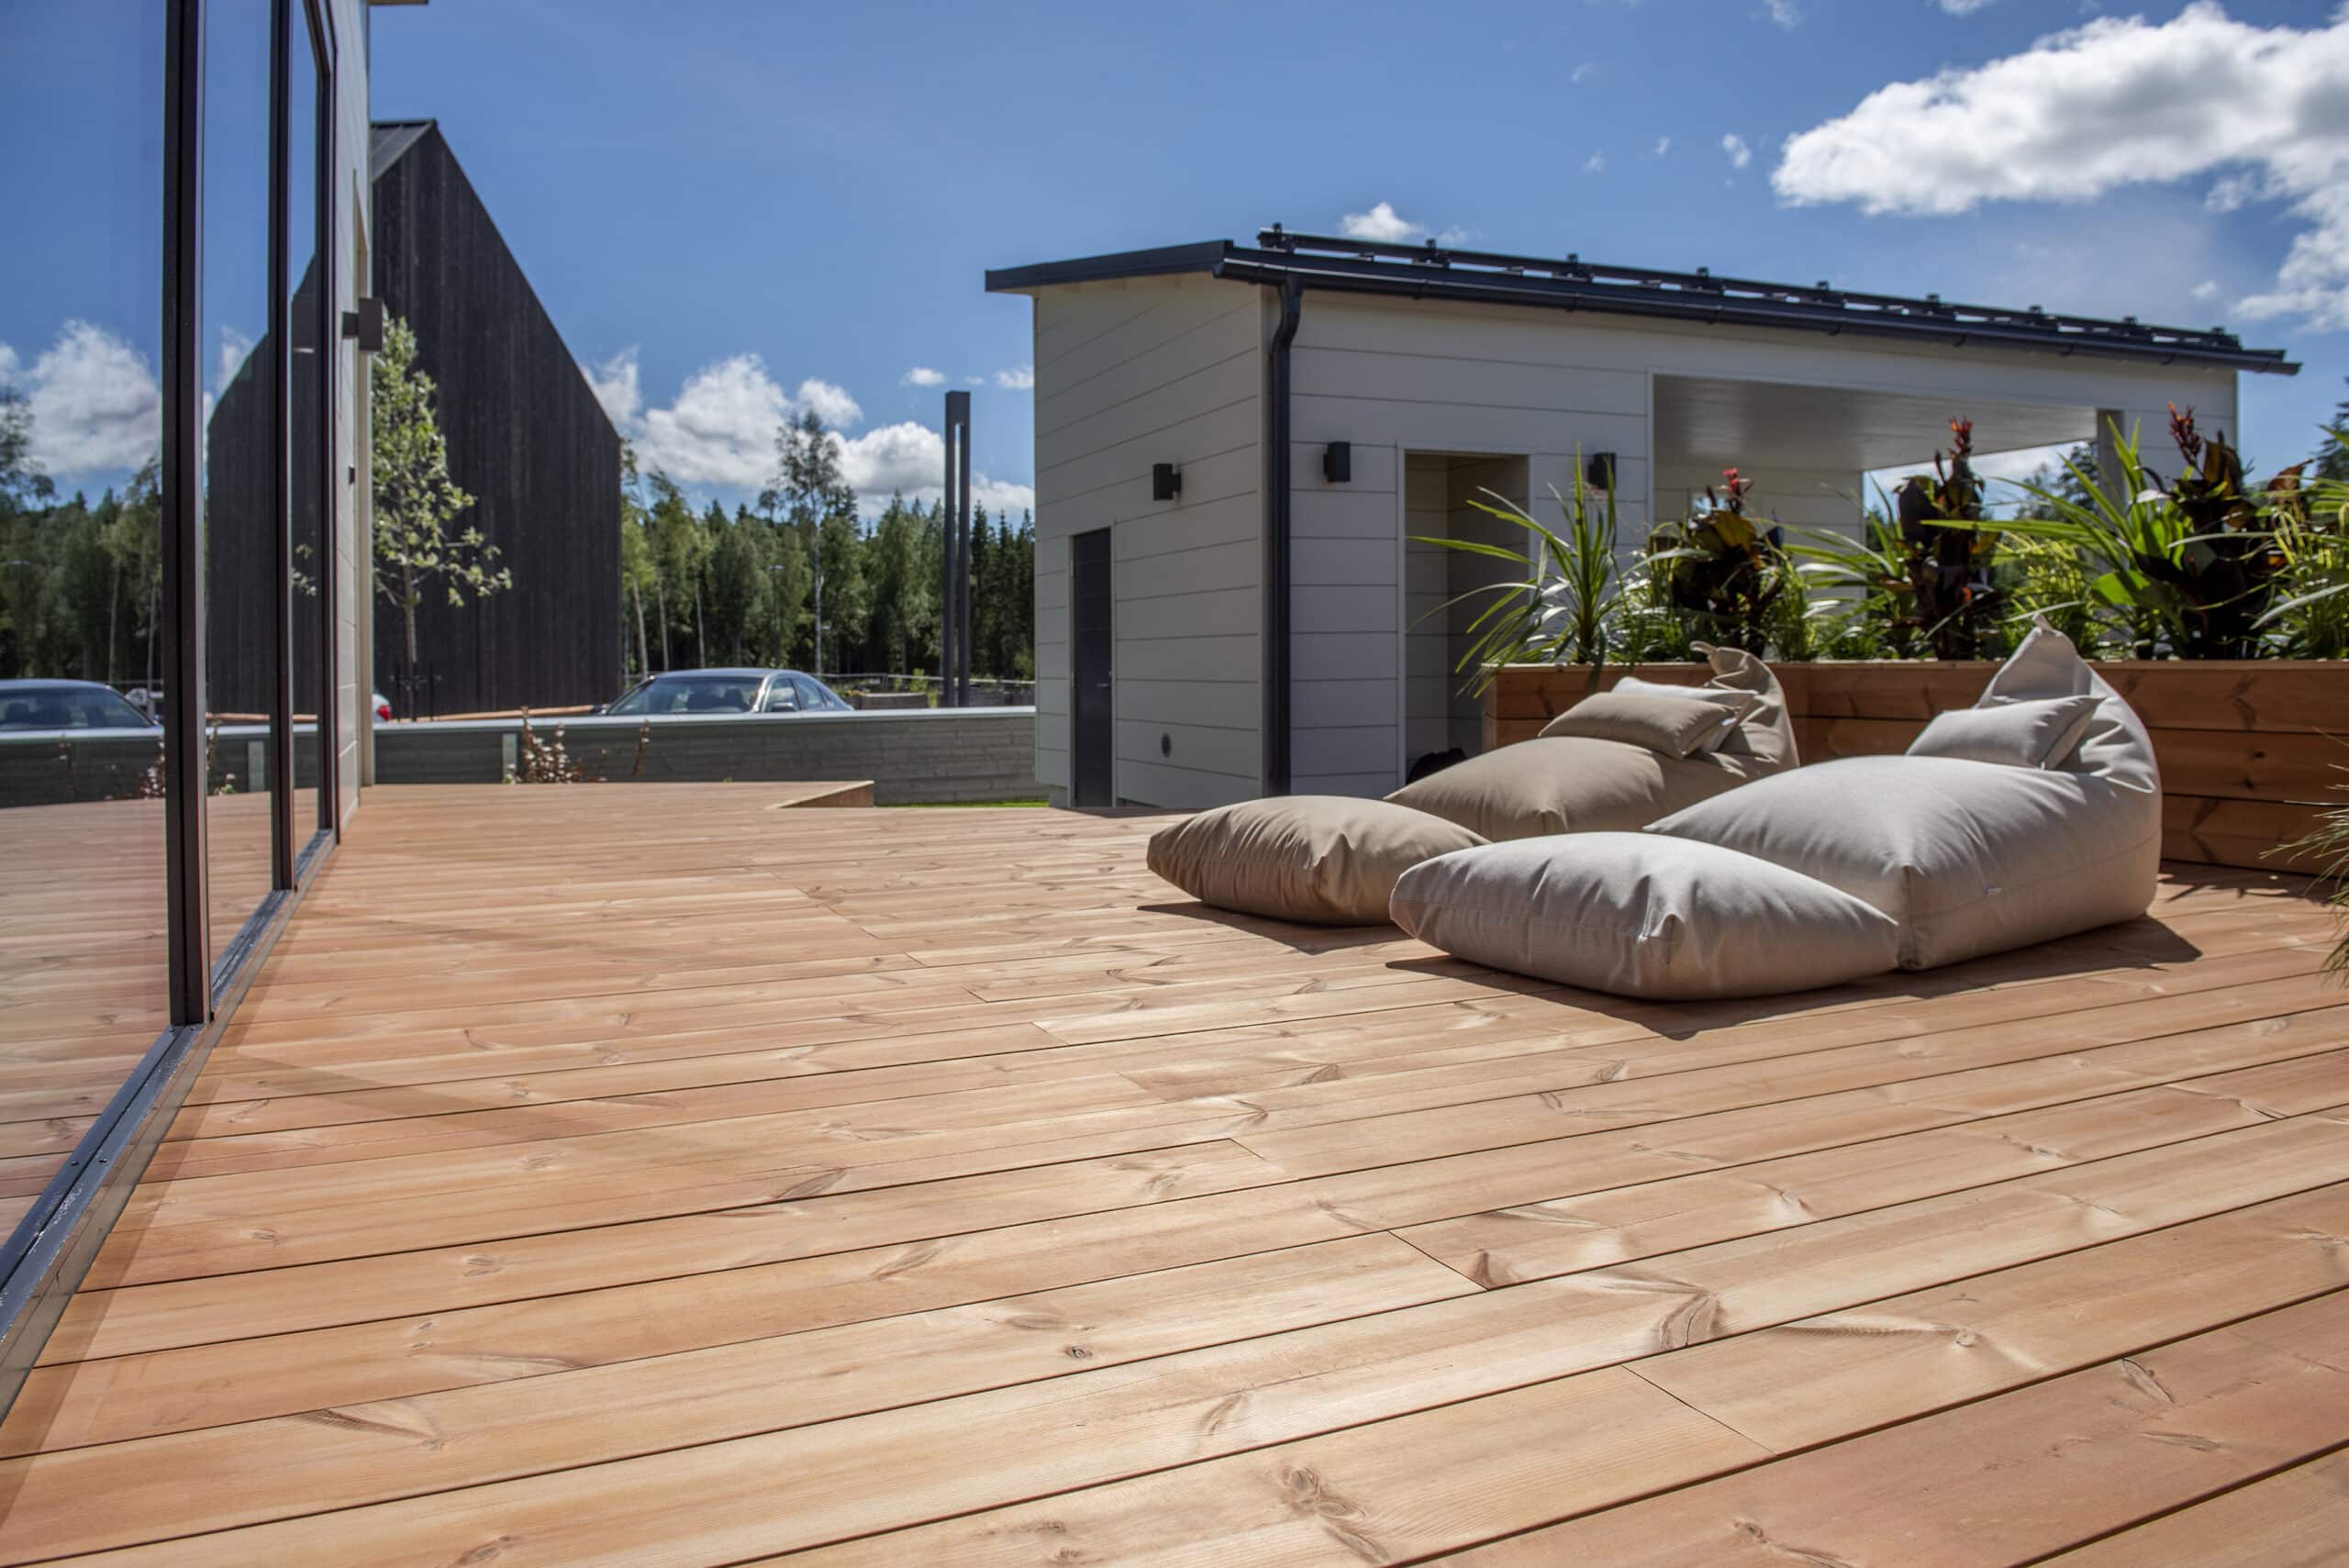
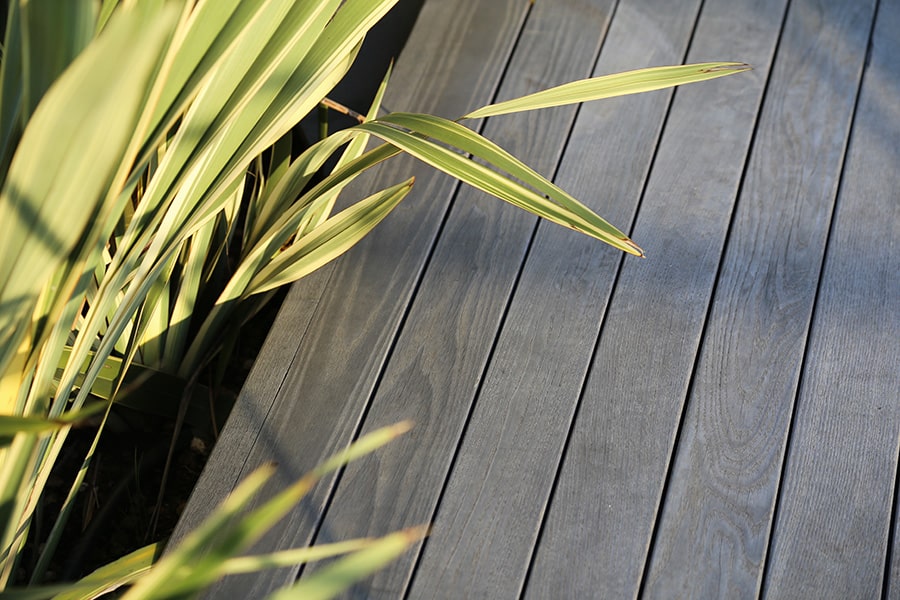
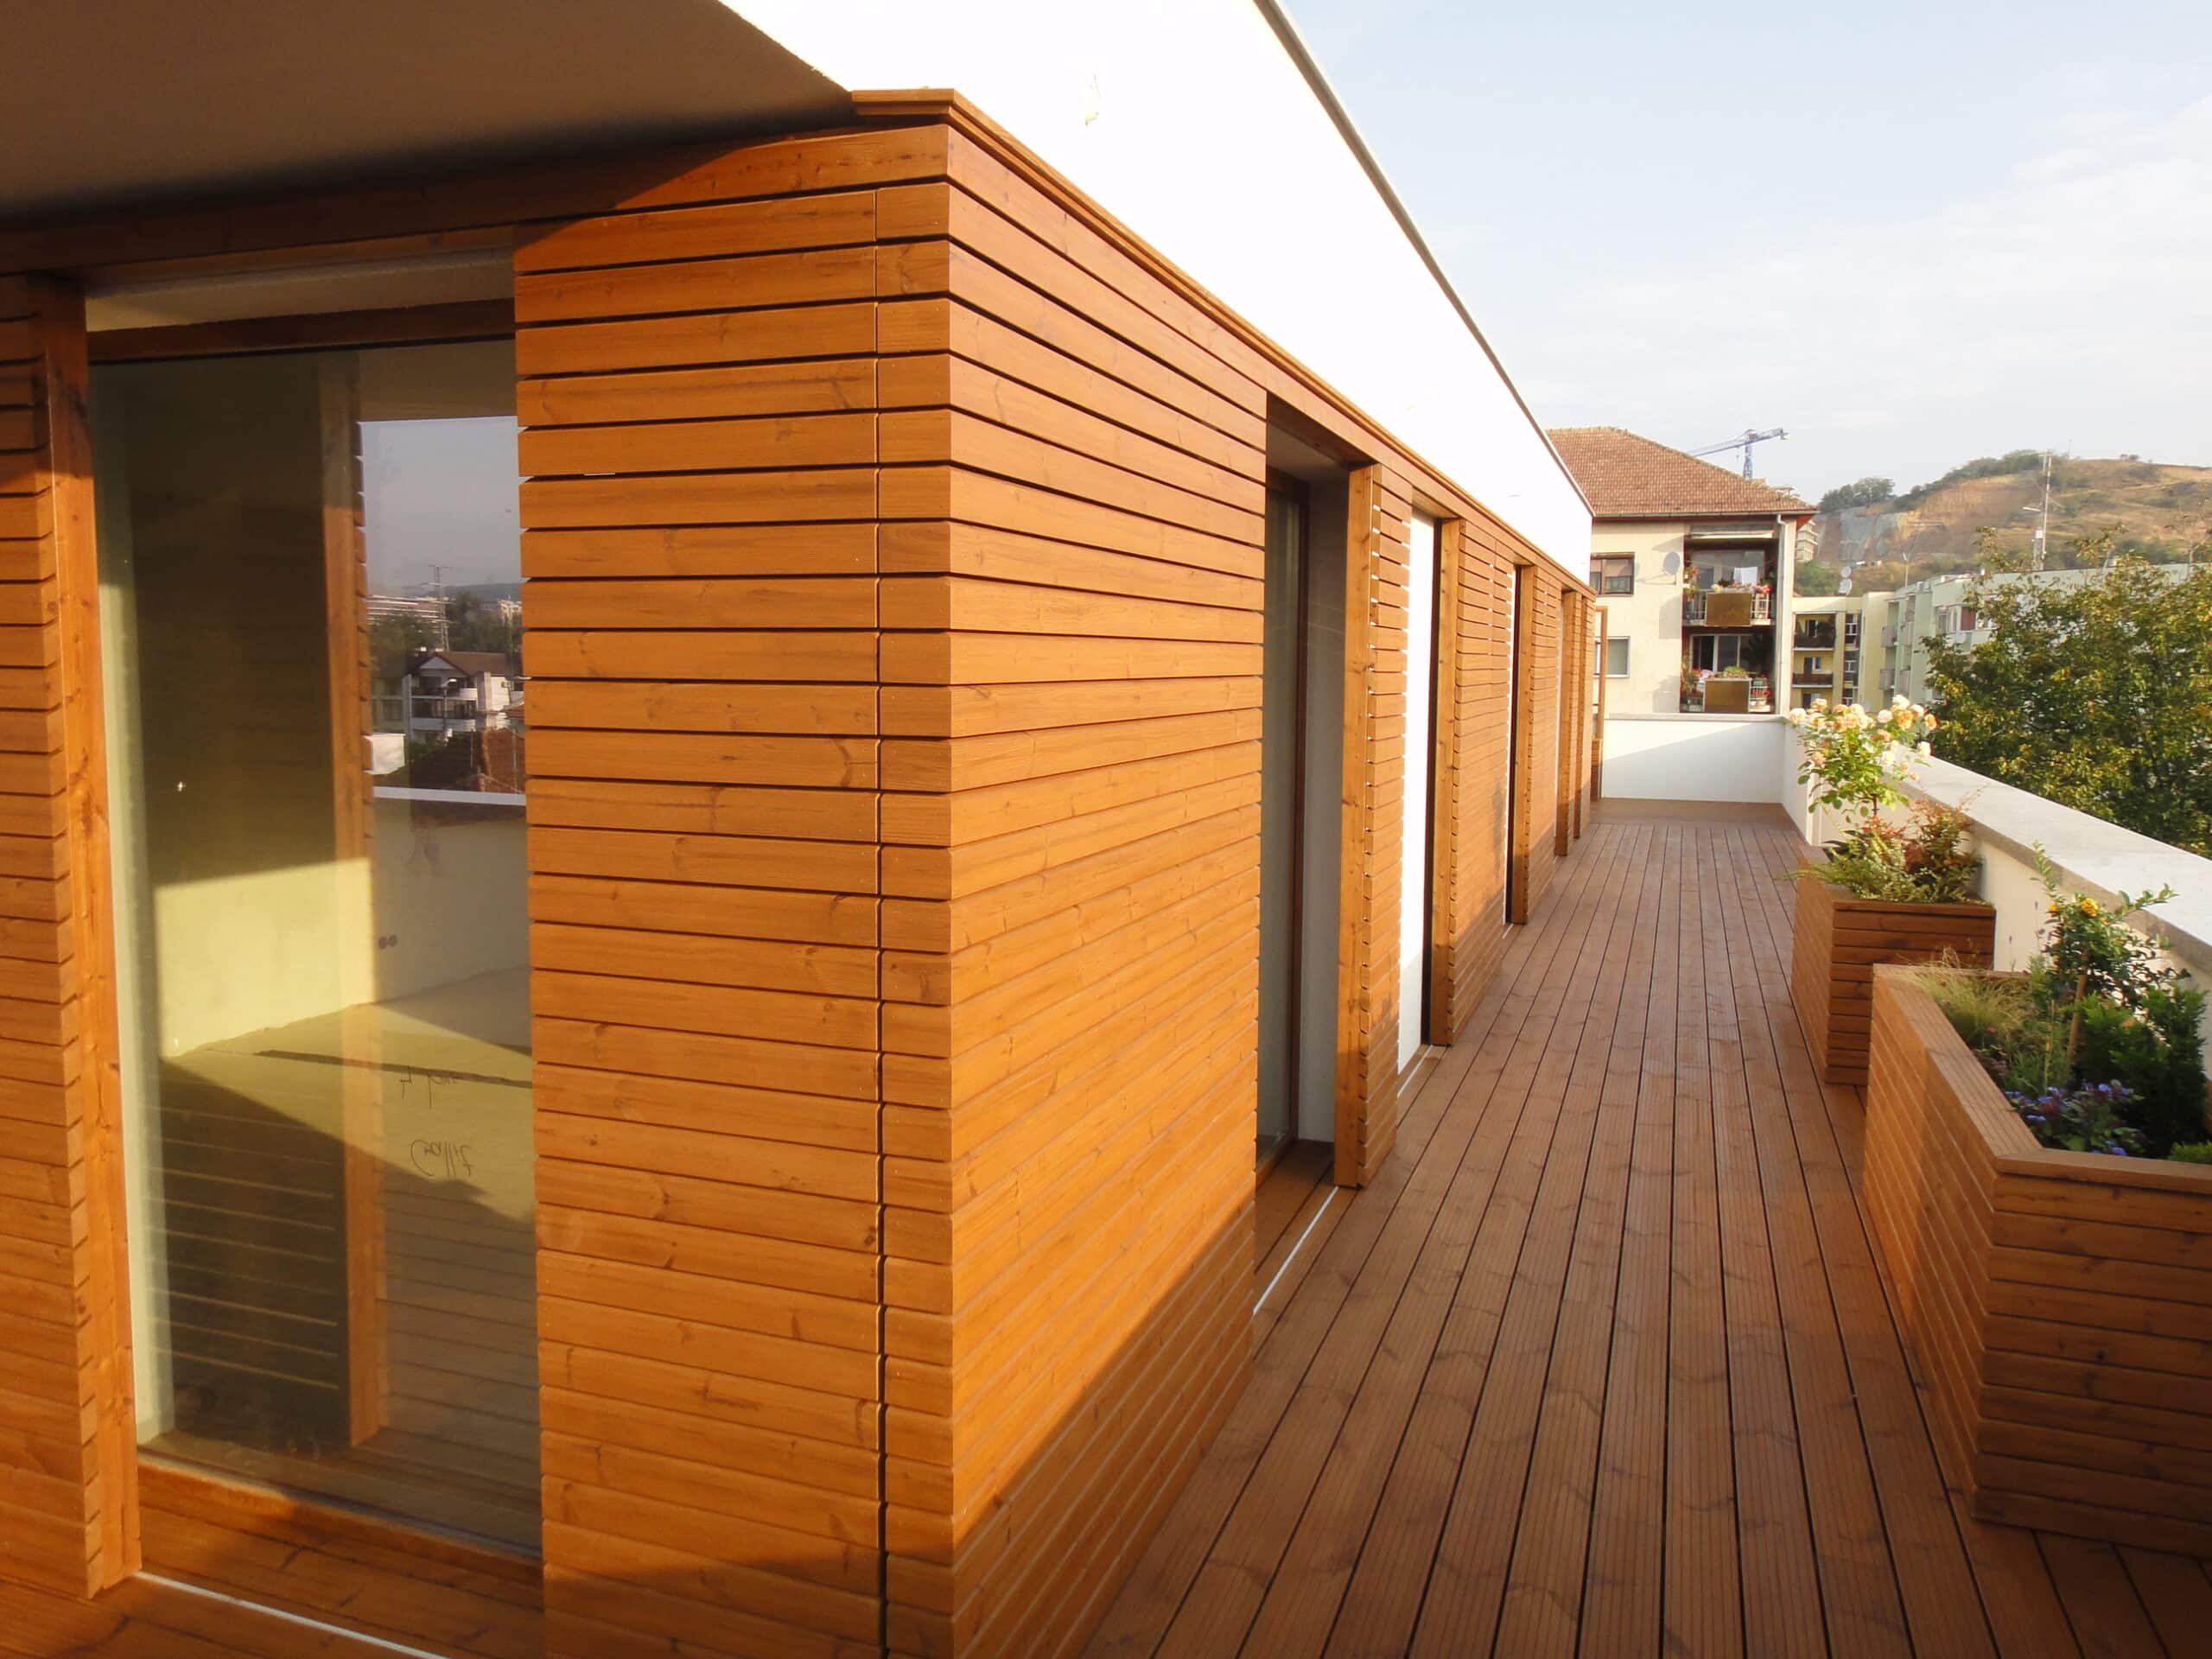
Because Thermowood is tremendously durable, you’ll also often see it as decking.
Are you convinced of the benefits of Thermowood®? The experts at Stevens & C° will be happy to help you on your way to efficient placement.
Installing Thermowood® against your facade
Thermowood siding shrinks, swells and deforms less due to differences in temperature and humidity. The wood is less prone to cracking and tremendously easy to maintain. But, that doesn’t mean the wood doesn’t “work. Although the dimensional motion is less than 1.5 percent, the wood still needs “pull-out resistance” and room to work. Otherwise, there will be tension.
Therefore, keep the following rules in mind:
- Length of nail: at least 2.5 times the thickness of the gable board
- Length of wood screw: at least 2 times the thickness of the cladding
- Leave adequate clearance between the planchettes and any other building elements
Tip: Prefer twisted or ring nails rather than smooth nails.
Installing Thermowood decking boards
For Thermowood decking boards, the same installation rules apply as for Thermowood siding. So follow all the above tips & tricks for installing your deck boards.
Some important things to consider:
- Ventilation: it is necessary that air can circulate under the patio and that water does not remain. Thus, the relative humidity below and above the terrace always remains more or less the same.
- Fastening: the distance of the screws from the edge of the board should be at least 20mm and 40mm from the heads. We recommend pre-drilling your Thermowood® or using a suitable clicks system.
Important to know when installing Thermowood
Natural aging
Despite thermal treatment, Thermowood® still ages naturally. That is, exposure to light gives the wood a (silver) gray color. That process starts immediately and lasts several months to a year.
Reduced exposure to UV makes shaded areas less likely to gray. Keep this in mind if you have a roof overhang, for example.
Do you wish to preserve or restore the original color longer? If so, maintain your Thermowood® regularly with oil and maintenance products.

Color differences and distortion
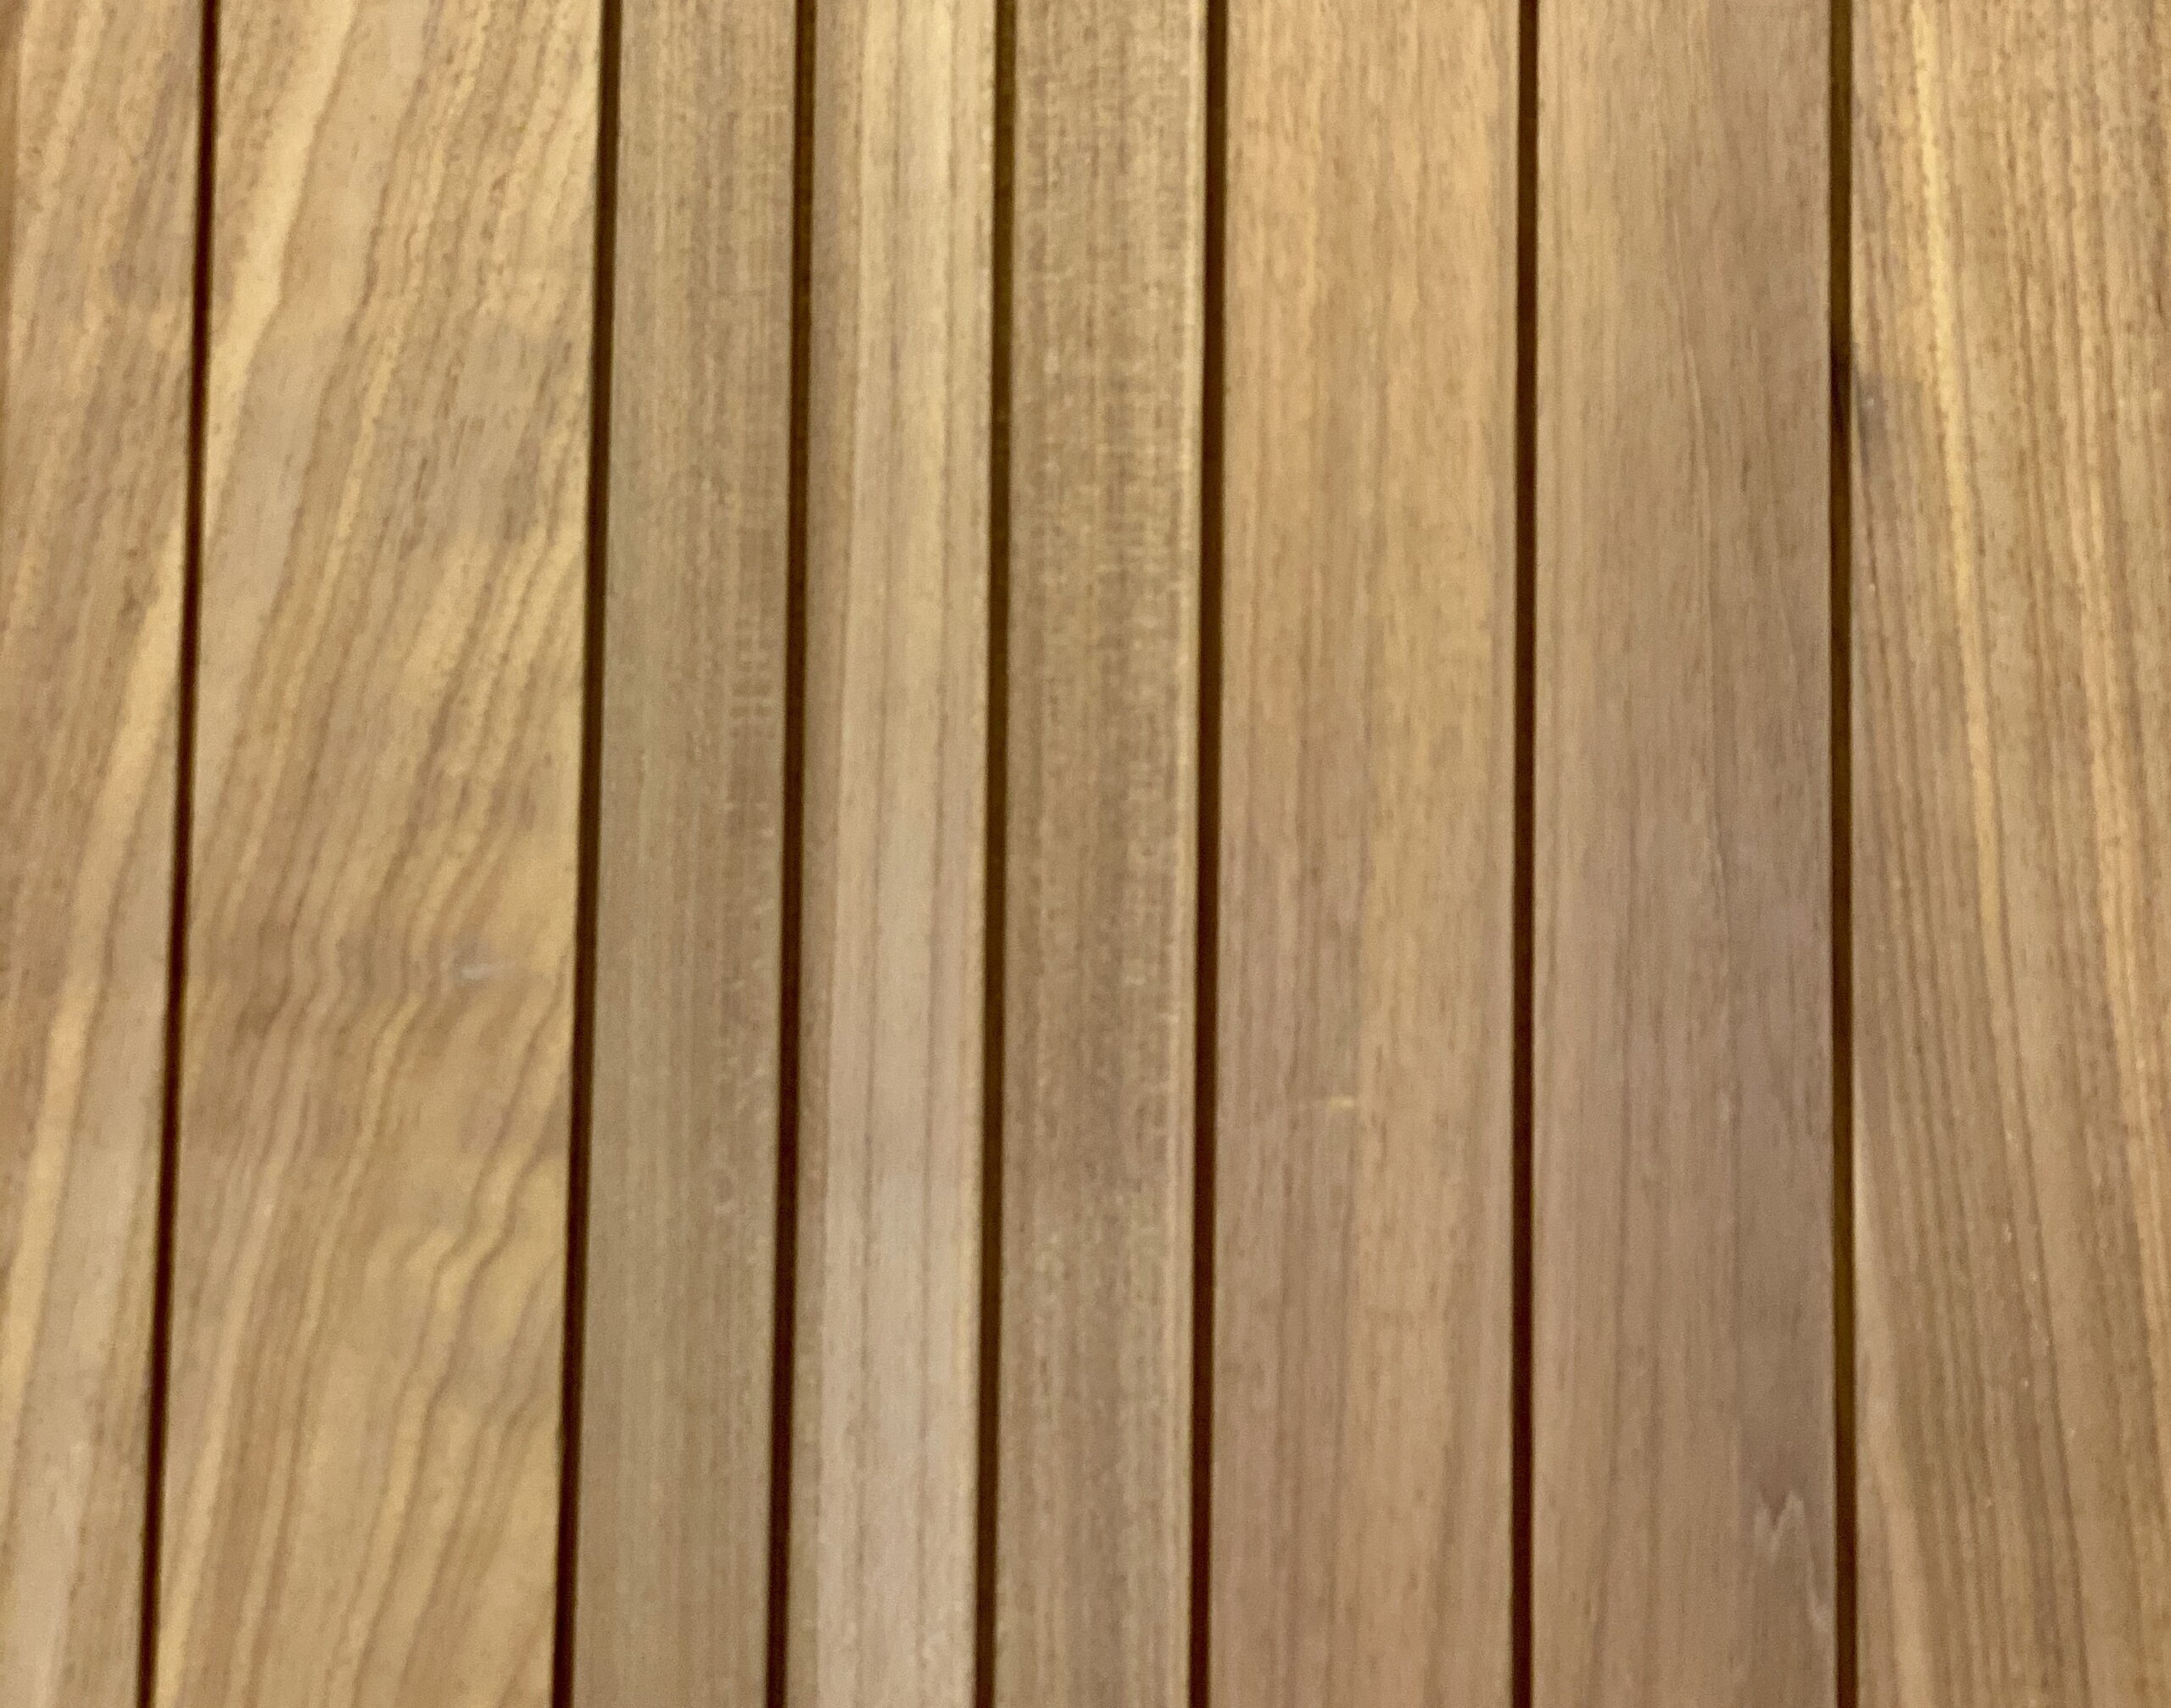
Because wood is a natural product, color variations are possible from plank to plank. As a result, the rate of yellowing varies from board to board. Again, the Uv radiation, as well as the amount of rain, has a big influence on this.
Thermowood® warps significantly less than untreated wood. But, it still occurs. Proper installation with adequate ventilation is crucial here.
Storage
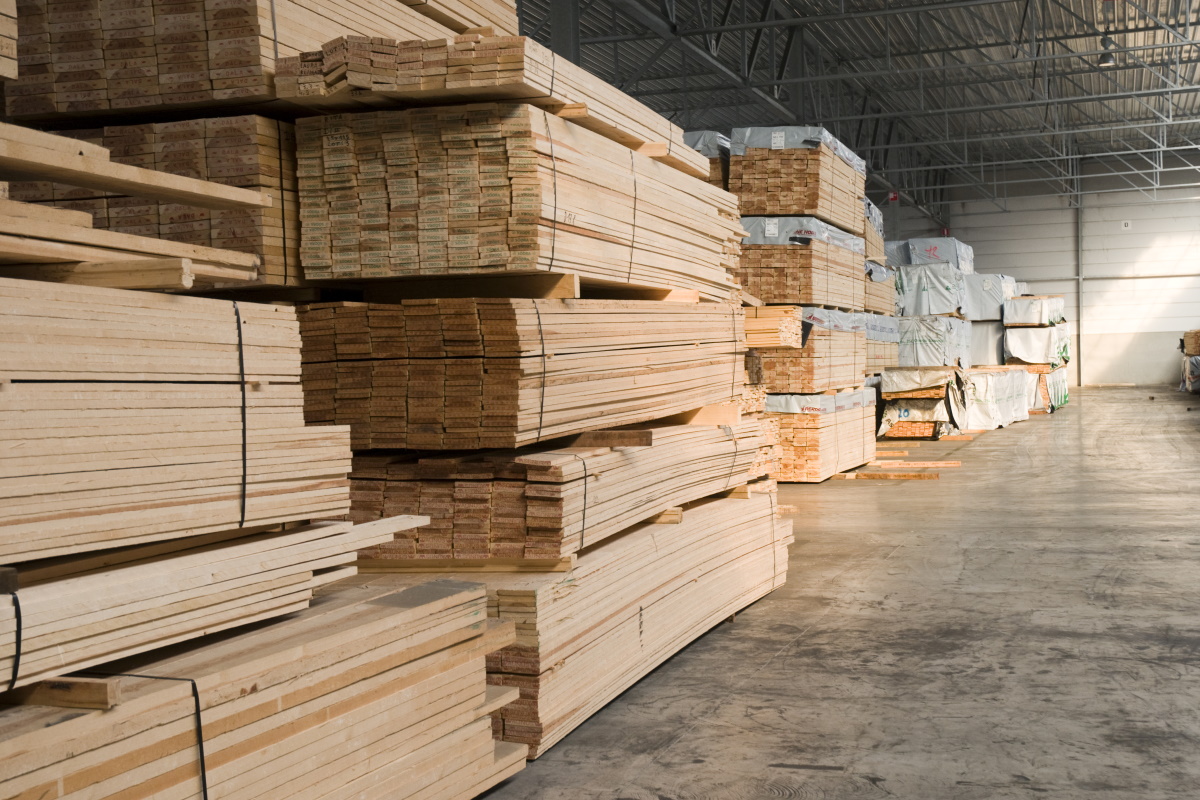
We recommend storing your Thermowood® indoors, protected from rain and sun. Is this not possible? Then always keep it clear of the ground. Stack evenly and cover with a waterproof tarp. Leave the ends open so no moisture gets caught in the suit.
Important: Thermowood® should never, even in its original packaging, be exposed to rain or moisture. This is because it does not dry correctly when stacked or packed.
Fine cracks
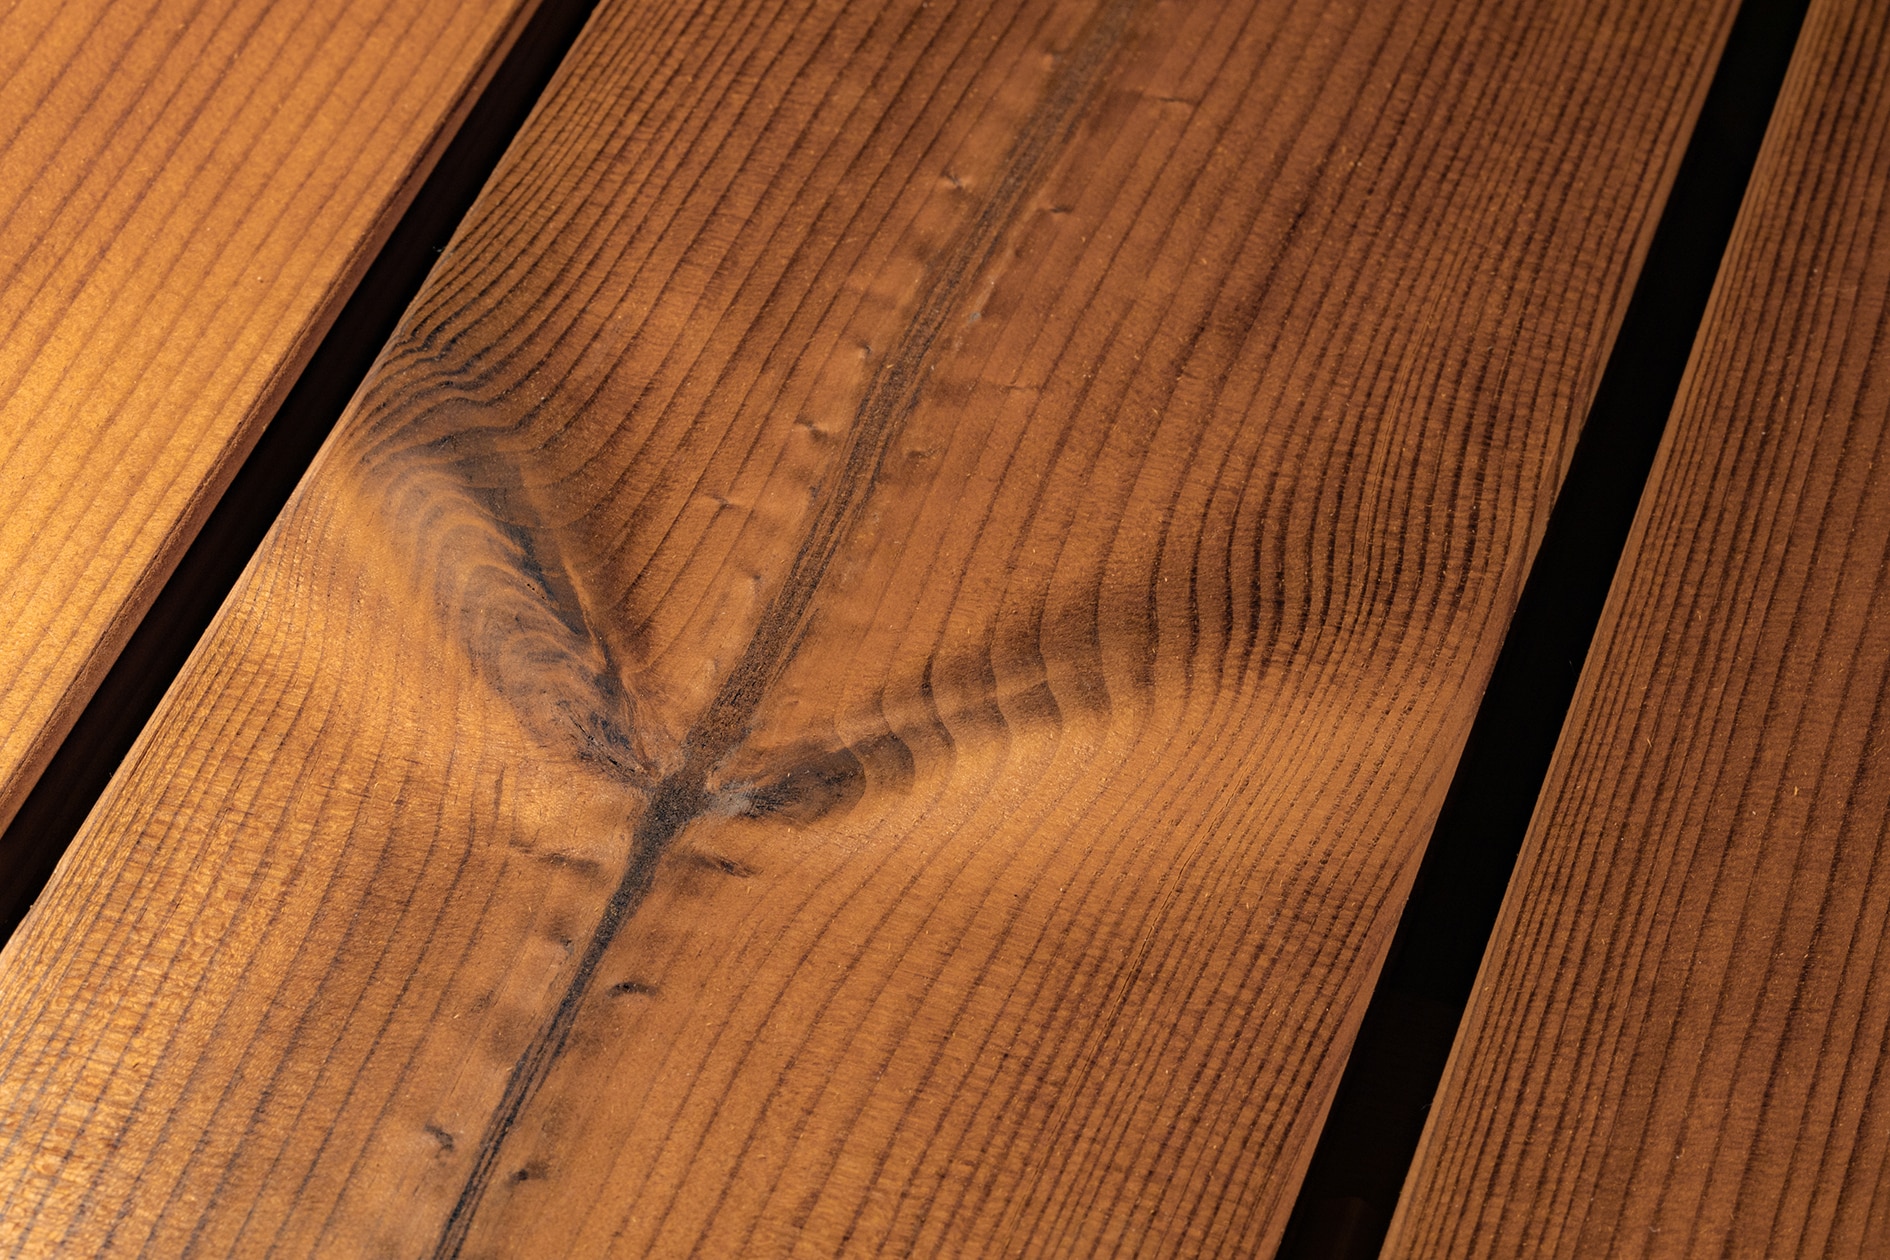
Is your Thermowood® surface cracking? This is perfectly normal. Wind cracks are a natural phenomenon with wood. This is because the surface of properly installed wood will always swell and shrink faster than the core. This creates cracks. This varies from board to board. Oiling your Thermowood® regularly reduces the appearance of these cracks.
Thermally modified wood is more stable than untreated wood. But, it still absorbs and releases moisture along exposed headwood. This creates small head cracks. You reduce these by treating the heads with an oil or sealer before installation.
Installing Thermowood against your facade in three steps
If you want to install Thermowood® against your facade, you have two options. Horizontally or vertically. The following roadmap distinguishes between the two methods.

1) Air cavity
Provide a drained and ventilated air cavity with a minimum width of 15mm. This is essential to avoid differential moisture at the front and back.
At the bottom and top, you should provide a minimum opening according to the height of your facade:
- < 3m: 5mm
- 3 to 6m: 6.5mm
- 6 to 10m: 8mm
- 10 to 18m: 10mm
We recommend sealing your air cavity with a protective grille. This prevents insects, birds or small rodents from entering.

2) Apply the battens:
For vertical installation, provide a double slat structure. Start by fixing the battens vertically at the level of the raised rafters of the frame. Maintain a distance of about 50 cm. At right angles to the vertical slats, nail the horizontal slats.
For horizontal installation, provide a single slat structure. Place a pan batten vertically. Do this every 30-40cm.
Important:
- The thickness of the slats should be at least 1.5 times the thickness of the planchets, with a minimum of 30mm.
- The distance between lets should be limited to 600mm.
- When using low thickness cladding (up to 19mm), the distance should be limited to 400mm.

3) Place your Thermowood®
Vertical placement: place the first gable board and nail or screw it once or twice at the level of each batten. Provide a small 2 mm joint each time so that the wood has room to “work”.
Horizontal placement: start at the bottom with the first wall board or shelf. Screw or nail those in place once or twice at the level of each vertical batten. Attach the next plank contiguously to the first, depending on the length of your facade and of the planks. Work upward in this way. Provide a small joint of 2 mm each time.
A few more tips:
- Provide nails or wood screws 3 to 4mm in diameter
- Do not use smooth nails or staples
- Provide stainless steel type A2 (or A4 coastal) fastening system
Installing Thermowood cladding: everything at a glance
Because it is of undeniable importance that your Thermowood® be installed correctly, we would like to repeat the most important conditions:
- Provide a clearance of 1 to 2mm to accommodate stresses
- Allow for dimensional movement of 1.5%
- Use twisted nails or ring nails
- Provide an air cavity
Still have questions? Feel free to contact us. We are happy to help you.
We believe in ThermoWood
approved dealer
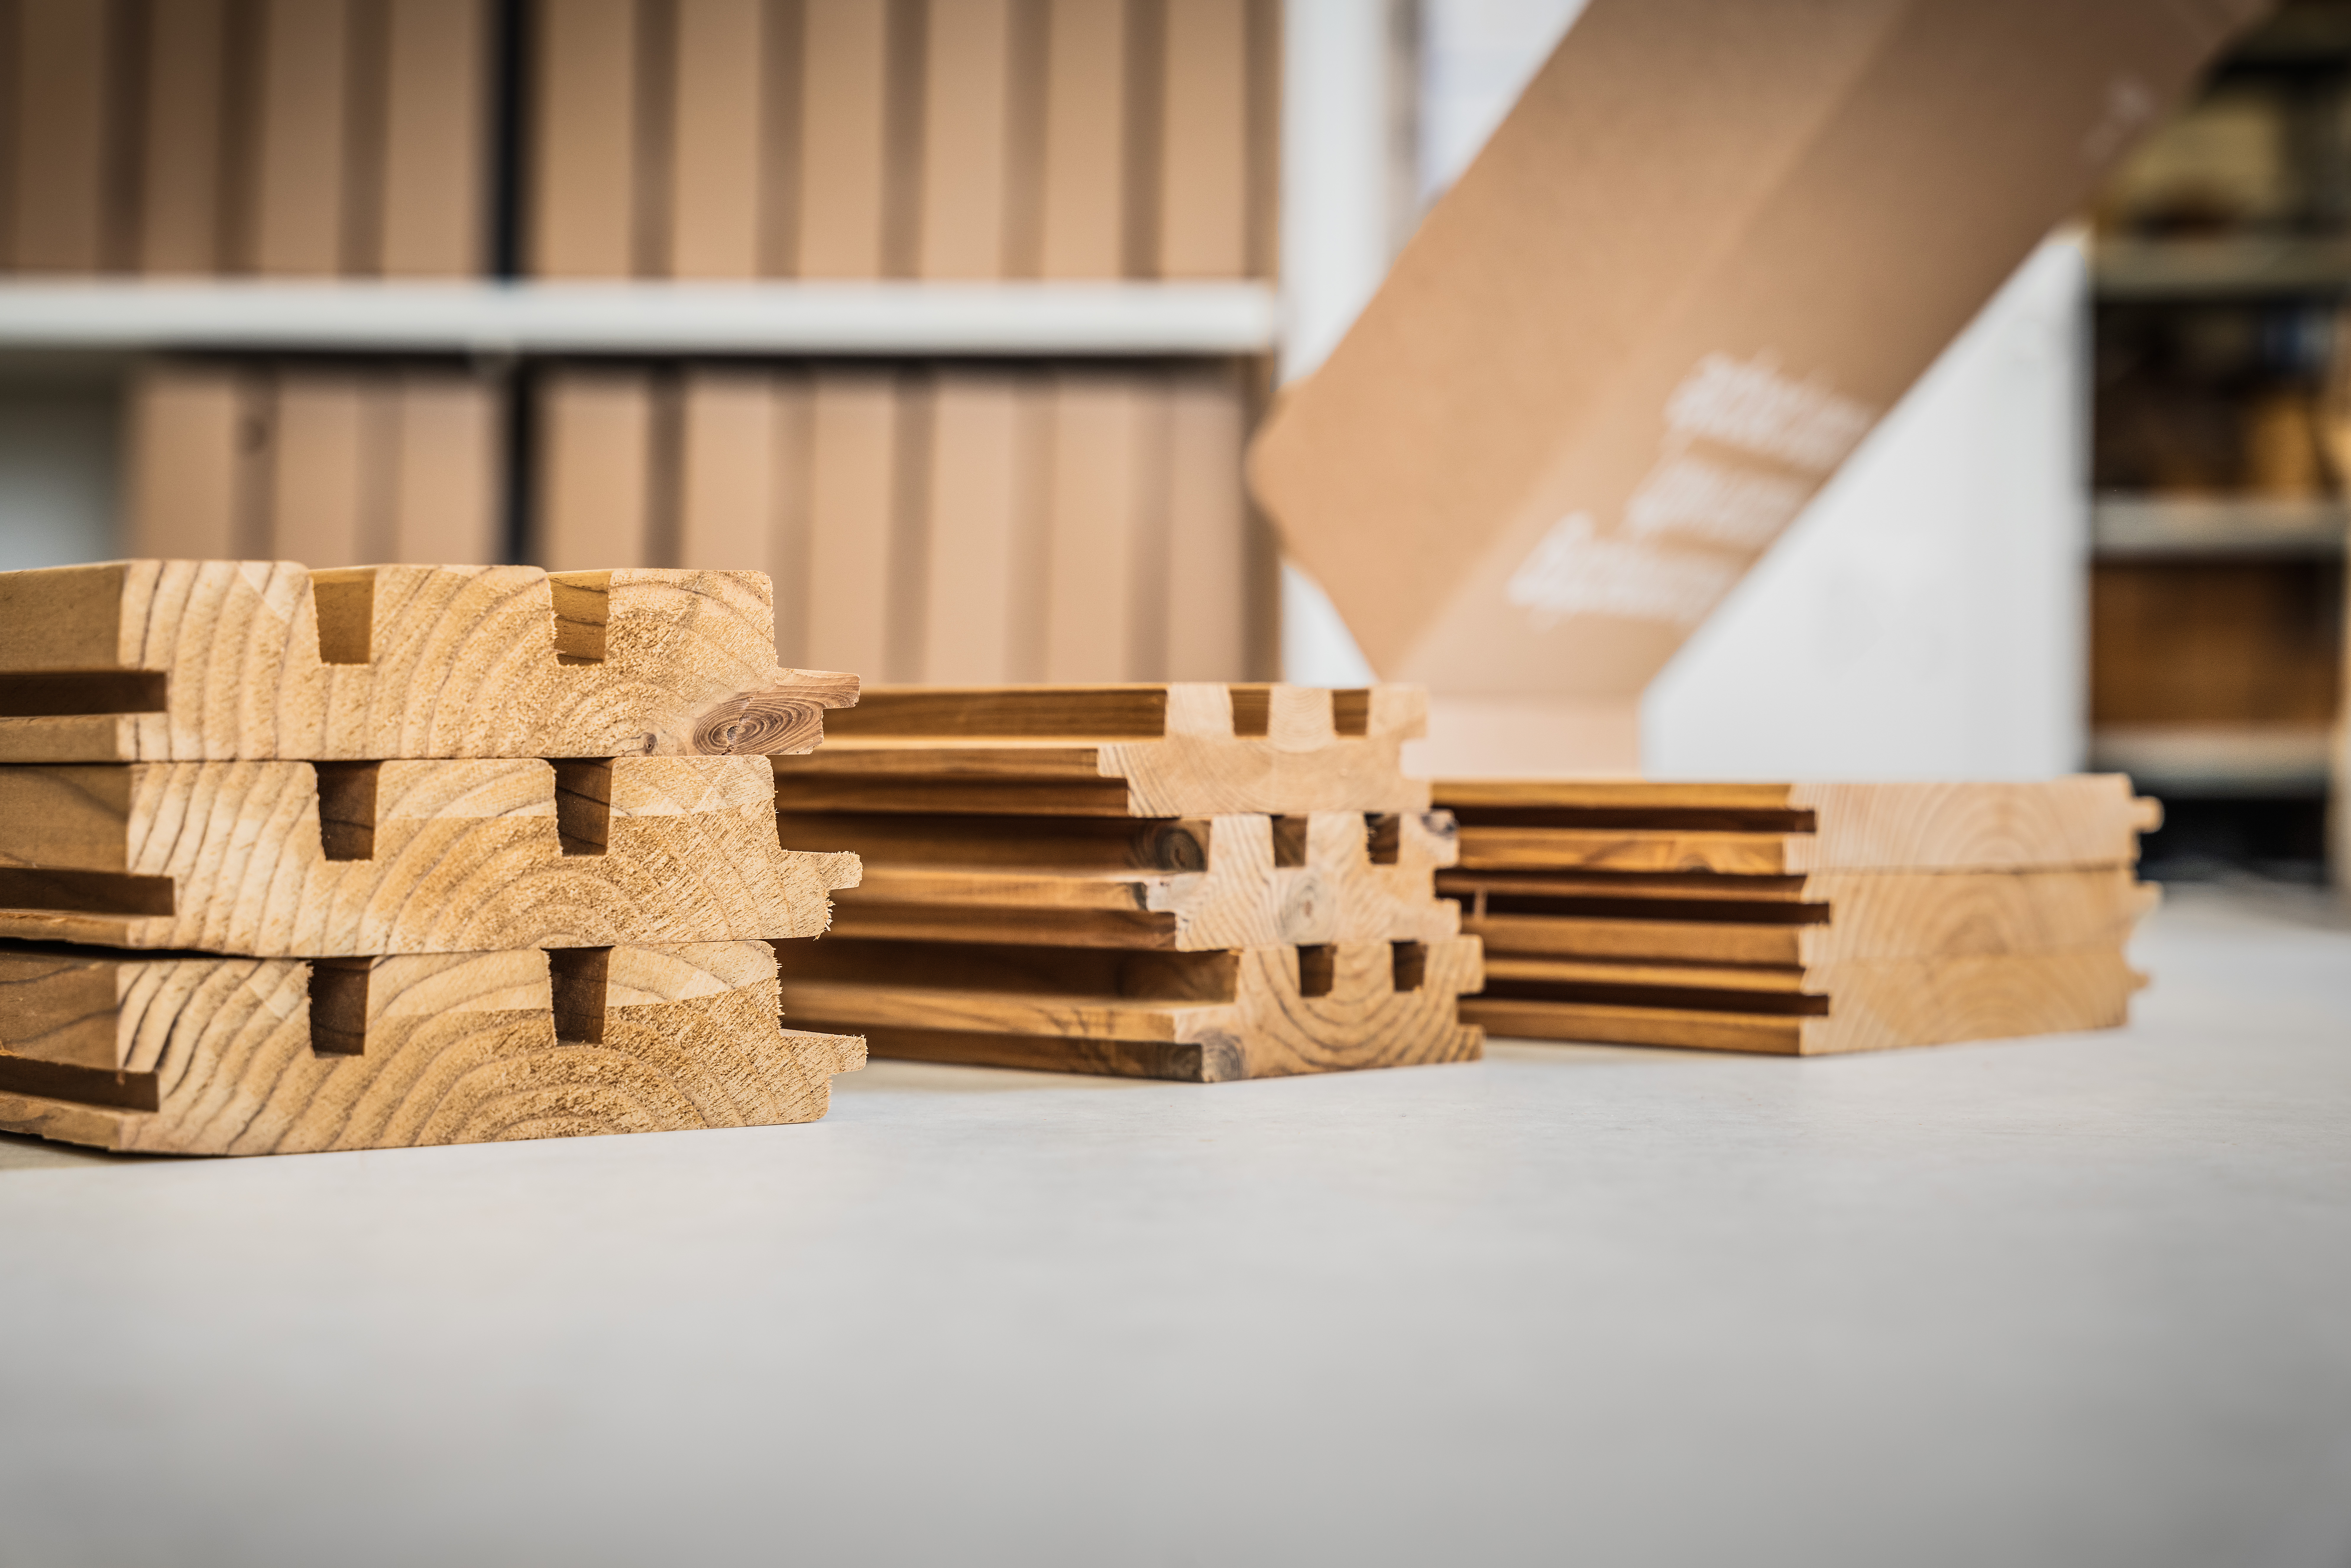
At Stevens Wood, we want to offer a dignified and ecologically sound alternative to tropical hardwoods. That’s why ThermoWood® has been part of our range for more than 10 years. We have more than 8 thermally modified woods and this in more than 20 sections and more than 40 profiles – all brut and planed in stock.

